
30
How to connect Flask to ReactJs
Building web applications with the
Flask framework and the inbuilt jinja template is cool but hooking your backend to a react frontend(which I believe we all love 😉) is much more interesting. In this tutorial, you are going to be taken through the easy steps you need to take to connect your Flask backend to a React frontend. 2) Familiarity with the basics of
ReactJs. You will be making use of the useState hook and also fetching data from API using axios.Let's get started.
Create the project directory where your application will be stored and then navigate into it.
mkdir projectcd projectCreate the frontend react application by running:
npx create-react-app flask_reactMove into the
flask_react directorycd flask_reactand then start the frontend application by running
npm startThe default react application page should pop up in your browser; if it does not, copy and open the link below in your browser.
http://localhost:3000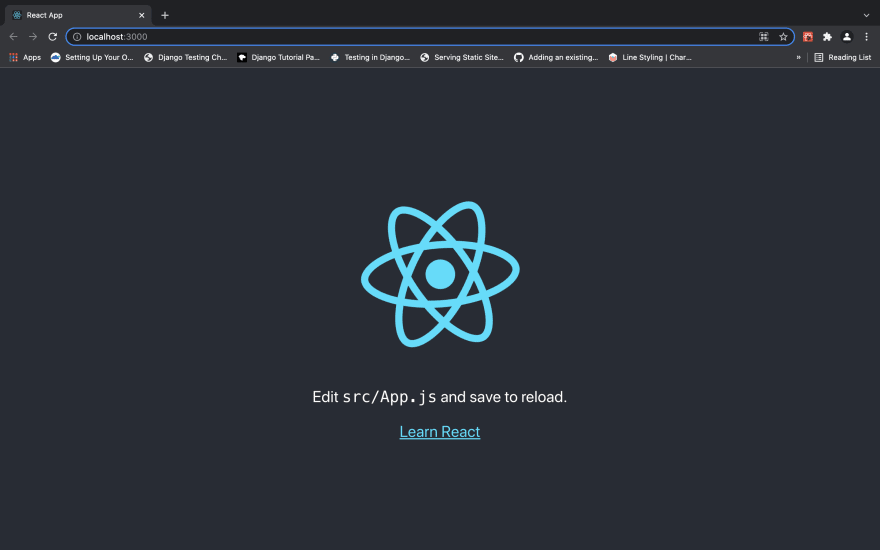
Create a new directory in your base directory
mkdir backendthen navigate into it
cd backendIf you have been following my
Building a web application with Flask series you should know the next thing that needs to be created. Yes, a virtual environment. Did you happen to get that right? 😀It is recommended to always create a virtual environment before you start your project. This helps you to separate the packages you use in this application from other applications; any change you make here won't affect the same package in another application on your system. To create a virtual environment on your system; run this command:
For mac/unix users: python3 -m venv env
For windows users: py -m venv env
After creating the environment, activate it by running :
For mac/unix users: source env/bin/activate
For windows users: .\env\Scripts\activateNow that you have your environment up and running, you can go ahead and install Flask
pip install flaskThe next thing is to register the script in an environment file.
pip install python-dotenvAfter successful installation, create the
.flaskenv file in the backend directory created above.touch .flaskenvPlease note that the preceding
. is very important. If you name your file just flaskenv, any environment variable you'll put in it won't be read.Now put your environment variables in the
.flaskenv file:FLASK_APP=base.py
FLASK_ENV=developmentThe application environment is set to development mode so you can easily debug your application and the base.py file which will contain your flask application will be created in the next section.
If the above approach is not used, you would need to keep on exporting your environment variables using
export FLASK_APP=base.py and export FLASK_ENV=development whenever you restart your terminal window.Note: To ensure that the focus of this article doesn't deviate, I'll be making the flask backend structure simple. If you want to build bigger projects you definitely have to create a better folder structure for your application. You can check out my articles on Getting started with Flask and Building a Todo List Application with Flask if you need to learn how to create a folder structure for larger projects.
Create a new file
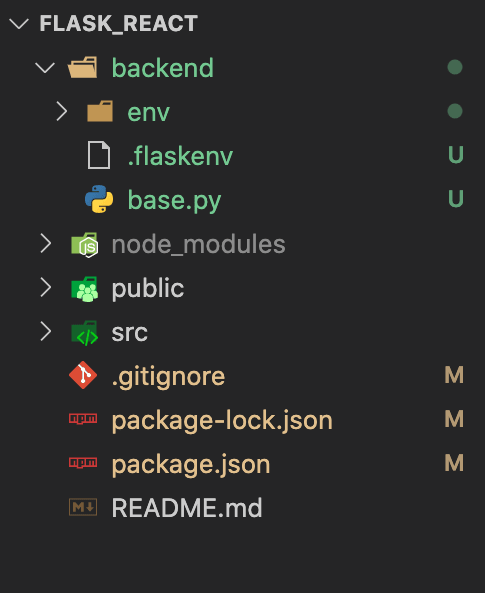
base.py in the backend directory where the .flaskenv directory is also located.touch base.pyYour folder structure should currently look like 👇
Inside the
Inside the
base.py script create a simple API that returns your name and info about you:from flask import Flask
api = Flask(__name__)
@api.route('/profile')
def my_profile():
response_body = {
"name": "Nagato",
"about" :"Hello! I'm a full stack developer that loves python and javascript"
}
return response_bodyThe code above contains a simple API which would be called by the react front end to get the
response_body dictionary.You might have noticed two things:
i) the
ii) the
i) the
GET http method is not specified here. This is because, by default, view functions in flask accept GET requests only.ii) the
response_body dictionary being returned at the end of the function is not being passed as an argument to the popular jsonify function like this jsonify(response_body). This is because view functions in Flask can return a dictionary, which Flask then turns to JSON format.The backend has been successfully set up, you can test this by running your application.
flask runThen navigate to the url
http://127.0.0.1:5000/profile.You should see the dictionary response_body rendered in JSON format.
You could also use

postman to confirm this and you'll still get the same result.If you want to push your code to source control. Don't forget to add your
env and __pycache__ folders to the gitignore file in the base directory.backend/env
backend/__pycache__Now you can return to the base directory where the react frontend is located.
cd ..Note: You can choose to use either
axios or fetch to make HTTP requests. However, in this article, the axios library will be used to make requests to the API endpoints you built earlier on.npm install axiosOpen the package.json file and add the proxy below the "private": true, line so it ends up like 👇.
"name": "flask_react",
  "version": "0.1.0",
  "private": true,
  "proxy": "http://localhost:5000", //newline
By doing this, you will be able to use relative paths when you are making the API requests. Instead of making use of
http://localhost:5000/profile you can simply make use of /profile.Note: The default url which is normally used to access flask applications in the browser is
http://127.0.0.1:5000 but http://localhost:5000 was used above as the value to the proxy key. Don't be confused, they are both the same. You can read more on that hereDon't close the
package.json file yet. There is something cool you can add as well. You know that whenever your react server is started and you make any change in a file and you save it, the server restarts so that the new change can reflect right?. You can also add that feature to your flask backend application. This is another advantage of connecting react to flask 😎.Under the
scripts section add another key and value. "start-backend": "cd backend && env/bin/flask run --no-debugger", so it ends up looking like 👇"scripts": {
"start": "react-scripts start",
"start-backend": "cd backend && env/bin/flask run --no-debugger", //new line
"build": "react-scripts build",
"test": "react-scripts test",
"eject": "react-scripts eject"
},Now you can start your backend server with
npm run start-backend. This executes the command passed as its value in the package.json file. It navigates into the env directory in your backend directory and executes the flask run command.The
--no-debugger option is also passed here to disable the browser-based debugger as the Flask backend only serves as a server that holds the API endpoint.Here, you'll be making the call to the API endpoint in the flask backend server. After the changes, the app.js file will look exactly like 👇
import { useState } from 'react'
import axios from "axios";
import logo from './logo.svg';
import './App.css';

function App() {

   // new line start
  const [profileData, setProfileData] = useState(null)

  function getData() {
    axios({
      method: "GET",
      url:"/profile",
    })
    .then((response) => {
      const res =response.data
      setProfileData(({
        profile_name: res.name,
        about_me: res.about}))
    }).catch((error) => {
      if (error.response) {
        console.log(error.response)
        console.log(error.response.status)
        console.log(error.response.headers)
        }
    })}
    //end of new line

  return (
    <div className="App">
      <header className="App-header">
        <img src={logo} className="App-logo" alt="logo" />
        <p>
          Edit <code>src/App.js</code> and save to reload.
        </p>
        <a
          className="App-link"
          href="https://reactjs.org"
          target="_blank"
          rel="noopener noreferrer"
        >
          Learn React
        </a>

        {/* new line start*/}
        <p>To get your profile details: </p><button onClick={getData}>Click me</button>
        {profileData && <div>
              <p>Profile name: {profileData.profile_name}</p>
              <p>About me: {profileData.about_me}</p>
            </div>
        }
         {/* end of new line */}
      </header>
    </div>
  );
}

export default App;
Now let's go through the new lines of code added to the app.js file.
At the top of the file, the
useState hook and axios module are both imported.Then inside the function named
App the useState hook is used to control the state of the profileData variable.The
getData function handles the API calls. It contains the axios module which is used to send a GET request to the API endpoint(\profile) on the backend which responds with the jsonified format of the dictionary declared in the view function. Next, the
setProfileData function updates the state of profileData by assigning the data in the json response to profile_name and about_me.The
getData function is only called when the click me button is pressed.Finally
&& is used as a conditional operator, to avoid getting an error. profileData is going to be assigned an initial null state when the application first loads so if you try to access profileData.profile_name or profileData.about_me you get an error message.TypeError: Cannot read properties of null (reading 'profile_name')Hence the need for the
&& conditional operator, so that the application only knows of the existence of the profileData.profile_name and profileData.about_me codes when the value of profileData has changed from null to containing the response data from the API call.You don't need to make changes to any other file in the base directory. The work on the frontend part of the application is now complete. Now you can go ahead and test it:
Step1: start your backend server using
note this command can be run while you are in any directory; be it the base directory(flask_react) or the flask directory (backend)
npm run start-backendnote this command can be run while you are in any directory; be it the base directory(flask_react) or the flask directory (backend)
Step2: start your react server using
npm start
Now click on the
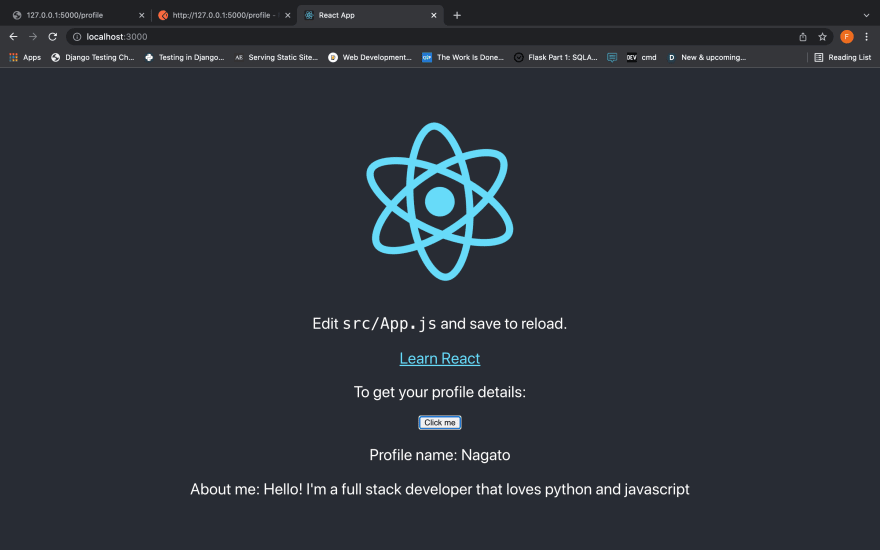
click me button to make the API call and get the name and about_me data from the backend. Voila!! you have successfully connected your flask backend to your react frontend. Now I am sure you can build small API endpoints in your flask backend and call the endpoints from your react frontend.
Incase you are a
Django lover, you would definitely love to connect it to React as well. You can check out my article on How to connect Django to ReactJs to learn how to go about that. Ciao 👋
30