
30
Image Processing is Easier than you Thought! (Getting started with Python Pillow)
We live in a digital world today, with data flowing all around us. We come across lots of digital images, which has made digital image processing very beneficial for us since it allows us to enhance an image and helps in the extraction of useful information from these images.
Python is a general-purpose programming language that provides many image processing libraries for adding image processing capabilities to digital images. Some of the most common image processing libraries in Python are OpenCV, Python Imaging Library (PIL), Scikit-image etc.
The Python Imaging Library (PIL) is also known as Pillow in the newer versions, although Pillow has forked the PIL repository and added Python 3. x Support.
The following steps are generally followed while processing an image:
PIL is the best option for performing simple image processing such as resizing (scaling), rotation, trimming (partial cutout), and applying various filters to an image since it is simpler and easier to understand than other libraries such as OpenCV. It comes with support for a wide variety of image formats such as “jpeg”, “png”, “gif”, “ppm”, “tiff”, etc., which makes image processing relatively easier.
Today we shall take a deep dive into Python PIL and its features along with the code implementation.
We can install pillow using pip on Windows systems. Just run the below command in your command prompt window:
pip install pillowor:
easy_install PillowTo install Pillow on MacOS run the following code on your Bash terminal:
$ sudo pip install PillowTo install Pillow on Linux machines simply use:
sudo pip install PillowFor loading an image, firstly we need to import the
Image from PIL and then call the Image.open() function, passing the image path. A value of the Image object data type is returned by the Image.open() function, and this image object can be used to perform various image manipulations with the help of other methods. All the modifications made to the image object can be saved to an image file with the save() method. The show() method displays the image that has been loaded in the image object.# importing the module
from PIL import Image
# opening the image stored in the local path.
im = Image.open('D:/Image/Kingfisher.jpg')
im.show()
We can find the basic properties of the image such as size(width, height), format and mode using different functions in the Image module.
# importing the module
from PIL import Image

im = Image.open('D:/Image/Kingfisher.jpg')

# Find image dimensions i.e. width and height
print("Image size:", im.size)

# Find the image format
print("Image format:", im.format)

# Find the image mode i.e. RGB, RGBA, HSV etc.
print("Image mode:", im.mode)Image size: (1280, 853)
Image format: JPEG
Image mode: RGBWe can easily convert one image into other format using the
save() method in Image module. This method takes two arguments, first the name of the new file and second the format into which we want to convert the image.#importing the module
from PIL import Image
im = Image.open('D:/Image/Kingfisher.jpg')
# Changing image format and saving the new image
im.save('Kingfisher.png', 'png')The following is the image with changed format:

The
Image.crop() method helps in cropping the image and we can specify the dimensions of the crop. The crop() method takes a 4-valued tuple defining the left, upper, right, and lower pixel coordinates.#importing the module
from PIL import Image
im = Image.open('D:/Image/Kingfisher.jpg')
# Cropping the loaded image using crop()
img_crop = im.crop((450,20,1000,500))
img_crop.show()
The
Image.rotate() function can be used to rotate an image. It takes the rotation degree value as a parameter and returns a rotated copy of the image.from PIL import Image
im = Image.open('D:/Image/Kingfisher.jpg')
# Rotating image using rotate() function by 90 degrees.
img_rotate = im.rotate(90)
img_rotate.save('Kingfisher_Rotated.jpg')
The
Image.resize() function can be used to resize an image to required height and width. The function takes width and height as a tuple and returns an image object of resized format.from PIL import Image
im = Image.open('D:/Image/Kingfisher.jpg')
# Resizing an image using resize() function.
img_resize = im.resize((500,150))
img_resize.show()
The
ImageFilter module consists of definitions for a pre-defined set of filters. These filters can be used with the filter() method and we can even blur an image by applying ImageFilter.BLUR on the original image. The filter function then returns an image object that contains the blurred copy of the original image.# importing Image and ImageFilter modules
from PIL import Image, ImageFilter
im = Image.open("D:/Image/Kingfisher.jpg")
# Applying blur operation on the image
img_blur = im.filter(ImageFilter.BLUR)
img_blur.show()
The
Image.convert() method allows us to convert colored images into grayscale images (black and white).# importing Image and ImageFilter modules
from PIL import Image, ImageFilter
im = Image.open("D:/Image/Kingfisher.jpg")
grayscale = im.convert('L')
grayscale.show()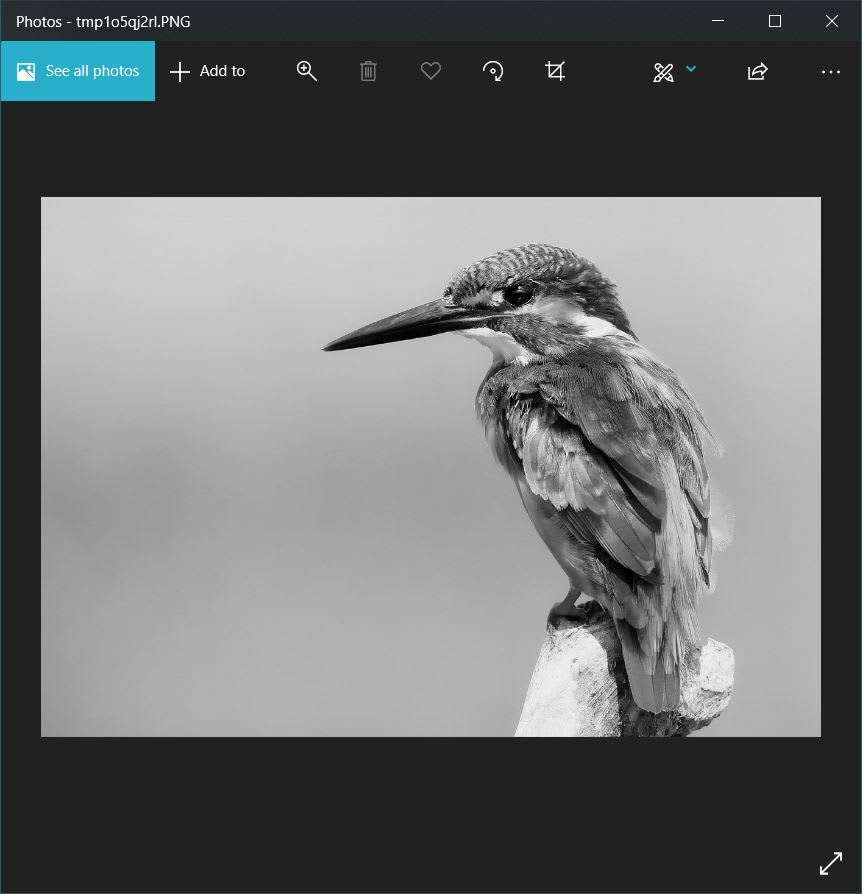
The
ImageFilter module contains various filters that can be used for image enhancement such as CONTOUR, DETAIL, EDGE_ENHANCE, EMBOSS, SMOOTH, SHARPEN, etc. Some of these filters are displayed below:# importing modules
from PIL import Image, ImageFilter
im = Image.open("D:/Image/Kingfisher.jpg")
# Applying filters
img1 = im.filter(ImageFilter.CONTOUR)
img2 = im.filter(ImageFilter.EMBOSS)
img1.show()
img2.show()

Using the
ImageDraw module, we can easily draw simple 2D graphics on top of existing Image objects. After importing the ImageDraw module, we simply create an ImageDraw.Draw object passing the Image object as the parameter. Then we can we can draw various objects such as line, rectangle, circle, triangle, etc. using the inbuilt functions. Here we have drawn a rectangle on the existing image. The rectangle() function takes three parameters: the position of the four corner points, the outline color and the fill color values.# importing required modules
from PIL import Image, ImageDraw
im = Image.open("D:/Image/Kingfisher.jpg")
draw = ImageDraw.Draw(im)
# Drawing a rectangle using rectangle method()
draw.rectangle((200,200,400,400), fill = "red", outline = "blue")
im.show()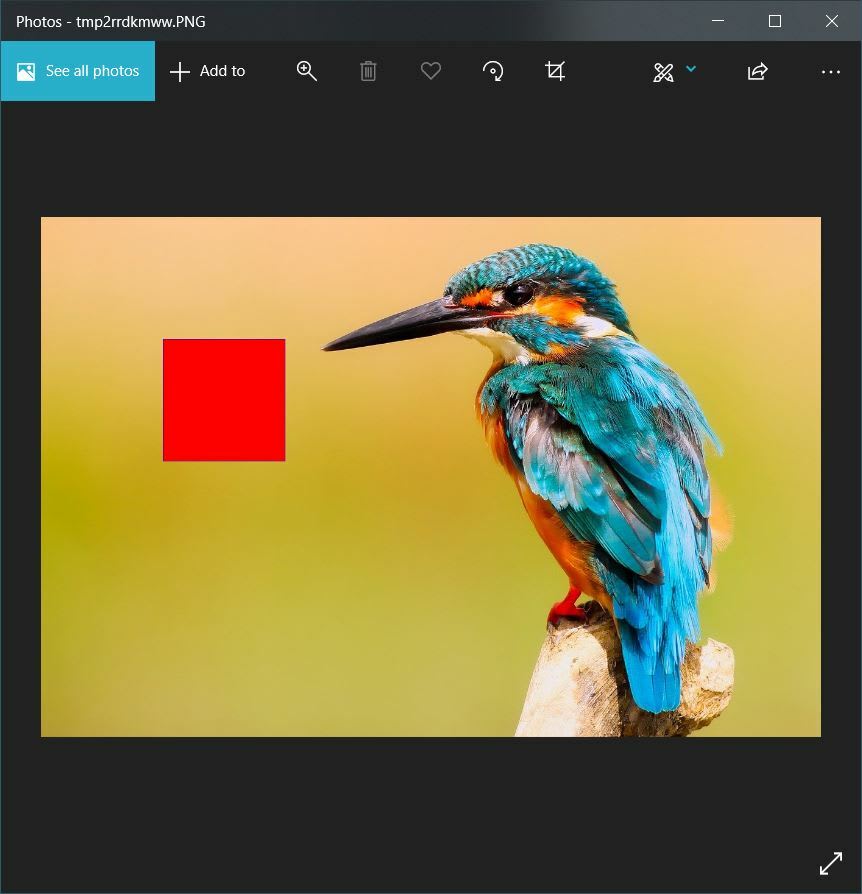
The ImageColor module consists of functions relating to RGB manipulation.
ImageColor.getrgb() method converts a color value passed as a string into the equivalent RGB format. It takes the color string as an input and returns a tuple of RGB values.# importing ImageColor module
from PIL import ImageColor
im1 = ImageColor.getrgb("#00ff00")
print(im1)
im2 = ImageColor.getrgb("yellow")
print(im2)(0, 255, 0)
(255, 255, 0)We can even create a new image consisting of given RGB color value using the
new() and getrgb() method:# importing required modules
from PIL import Image, ImageColor
img = Image.new("RGB", (500, 500), ImageColor.getrgb("#FF7103"))
img.show()
This was all about the Python Imaging Library and its basic functionalities. The PIL library makes it relatively easy to adjust and process images according to our requirements with just a few lines of code. Now, what are you waiting for? Go ahead and get started with your image processing journey.
Hope you enjoyed my blog. Thanks for reading!
30