
36
Build and deploy a web app with Python, Flask, and Doppler
Picture this: You’re building an app that uses global configuration values (public and private keys, environment execution configurations, database credentials, domain names, and URLs), and you need to update them frequently. The first solution you’ll come up with is to manage your global values using ENV files. Still, soon enough, you’ll realize that this approach can be a burden and is unscalable, especially in a distributed architectural system.
Suppose you found a solution that serves as a universal secrets manager and allows you to synchronize environment variables at scale efficiently. Would this help you solve your problem better than ENV files? The answer is YES, and the best solution for your issue is Doppler.
This tutorial will teach you how to integrate Doppler into your apps and store your secrets with it. In this article, you will build and deploy a demo app with Python (Flask) and Heroku, then manage its secrets and environment variables using Doppler.
Doppler provides many unique features and functionalities that make it more than just a storage for secrets. Here are some of them:
To continue with this tutorial, you need an account with Doppler. Create one on the Doppler website using your email address, Google account, or Secure SSO if you don't have one.
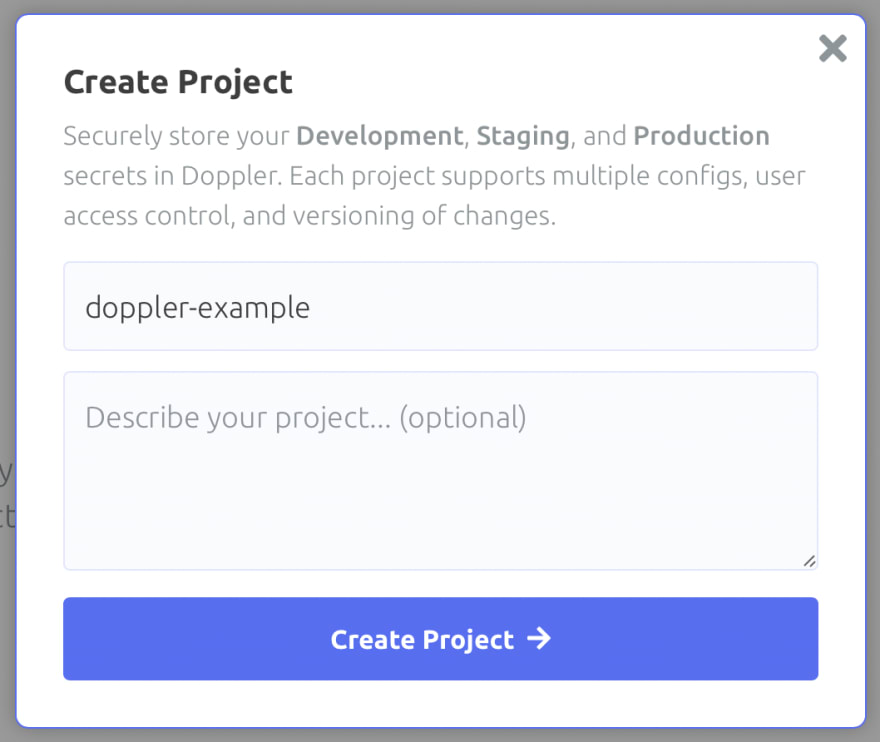
Projects are used in Doppler to universally organize and manage your secrets from local development to production.Click on the
Create Project button in the Doppler dashboard, as shown in the image below:
To store secrets in Doppler, select the
Project you want to configure from your dashboard. Click on the Project you created earlier:
Then, choose the environment execution mode (development, staging, production) to configure your secrets. Select the
dev config: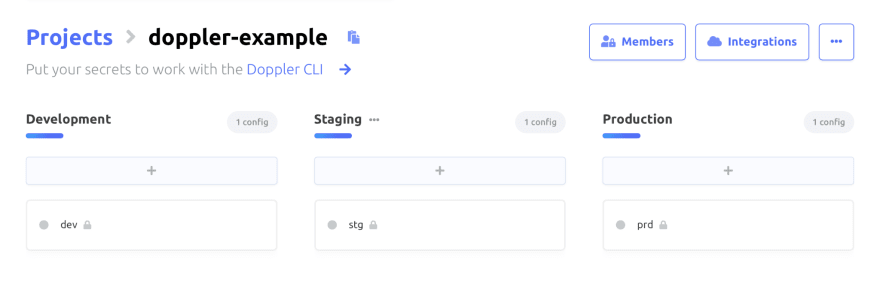

Next, configure the
Project config and store secrets in it. Click on the Add First Secret button to add secrets manually or the Import Secrets button to fetch them from an ENV, JSON or YAML file.
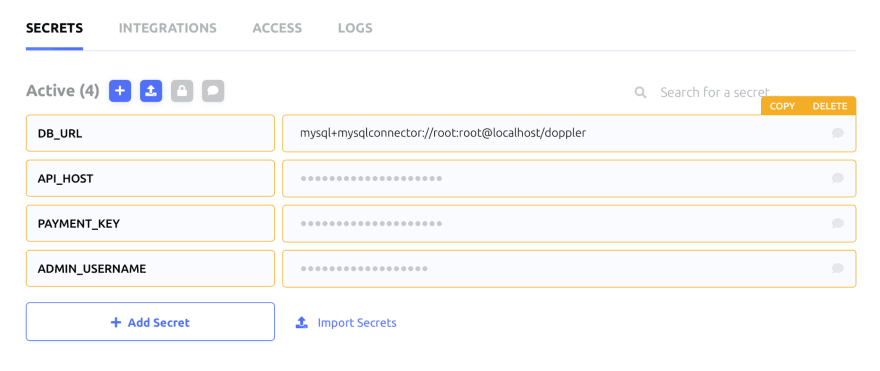
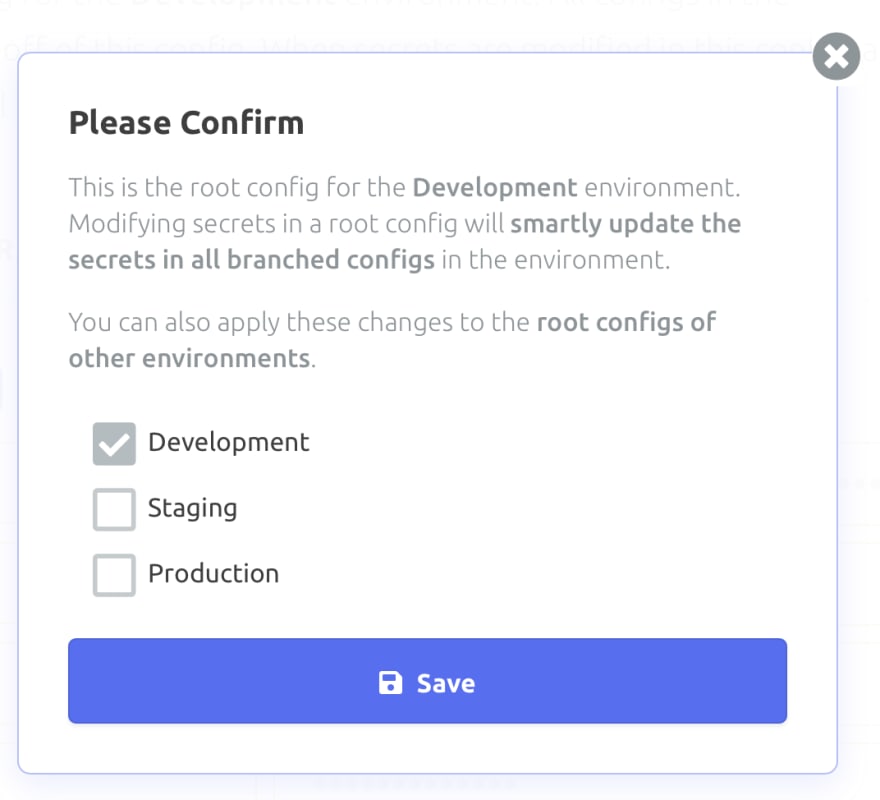
Don't forget to press the Save button after adding/updating your secrets in Doppler.
The Doppler CLI is a lightweight binary that allows you to access your secrets in any environment (local, development, CI/CD, staging, production). Follow this guide to install it on your machine.
To connect the Doppler CLI to your account and access the secrets of your
Projects, you need to be authenticated on it using an access token. Doppler CLI provides a doppler login command to authenticate yourself via your browser (for local development).In the terminal, type the following:
doppler login

You only need to do this once per workplace. If you have multiple workplaces, you can scope each login to a separate directory.
After installing and authenticating the Doppler CLI, you need to configure it with a
Project in your development environment to fetch its secrets. Doppler CLI provides a doppler setup command to configure your app with a Project.Change the current directory to your app directory, then type the following in the terminal:
cd ./your/project/directory
doppler setup
Now, select the
Project and config you want to configure your app to use:
You can also use a doppler.yaml file to pre-configure the Doppler Project and config for your app. Follow this guide to learn how.
Doppler allows you to set up secrets for multiple projects on a single machine simultaneously by scoping them to specific directories.
After setting up the
Project and config of your secrets for your app, you can inject your secrets as environment variables into running processes using doppler run. Let’s see an example where we access our secrets from the Python shell.In your terminal, type the following:
doppler run -- python3

import os
print(os.getenv("DB_URL"))
print(os.getenv("PAYMENT_KEY"))
Here, you launched a process (
python3) and injected your secrets (that we created earlier) into it using doppler run. Then, you fetched the secrets from environment variables using os.getenv().You can learn more ways to inject Doppler into running processes from this guide.
Now that you have successfully injected your secrets into a running process using Doppler, let's start building a Python (Flask) web app that uses the secrets you stored in Doppler.
You need to install Flask on your machine. In the terminal, type the following:
pip install FlaskCreate a file named
app.py in the same directory you set up Doppler and save the following code in it:from flask import *
app = Flask(__name__)
@app.route("/")
def home():
return "Hello World!"
if __name__ == "__main__":
app.run(debug=True)Start the app using
doppler run to inject the secrets into the Flask server. In the terminal, type the following:doppler run -- python3 app.py
When you open the
http://127.0.0.1:5000 URL in your browser, you will get a response like this:
Let's fetch the secrets from Doppler and use them in the Python (Flask) web app. Since Doppler injects secrets as environment variables, you can easily retrieve them using the built-in
os.getenv() function provided by Python like you would when using ENV files.Update the
app.py you created earlier with the code below:import os
from flask import *
app = Flask(__name__)
@app.route("/")
def home():
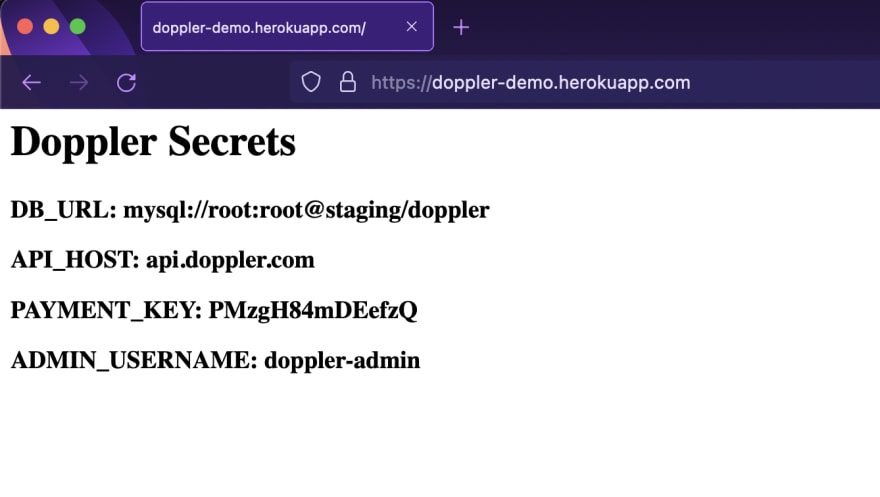
response = f"""
<h1>Doppler Secrets</h1>
<h3>DB_URL: {os.getenv('DB_URL')}</h3>
<h3>API_HOST: {os.getenv('API_HOST')}</h3>
<h3>PAYMENT_KEY: {os.getenv('PAYMENT_KEY')}</h3>
<h3>ADMIN_USERNAME: {os.getenv('ADMIN_USERNAME')}</h3>
"""
return response
if __name__ == "__main__":
app.run(debug=True)Start the app using
doppler run and open the http://127.0.0.1:5000 URL in your browser to confirm Doppler injected your secrets correctly.doppler run -- python3 app.py
Change the secrets from your Doppler dashboard to see how easy, efficient, and scalable the synchronization of your environment variables has become.

Doppler provides integrations for many cloud providers, including Heroku, AWS, Digital Ocean, Azure, Docker, GCP, and many more to keep your secrets synchronized wherever you develop and deploy.
Doppler also simplifies the whole cloud provider integration process, only requiring you to set things up with a couple of clicks. Let's see how to integrate Doppler with Heroku.
Login to your Heroku dashboard and create a new app to deploy your Python (Flask) app.


Head over to the
INTEGRATIONS tab in the stg (staging) config setup of your Doppler Project.
Don't forget to configure your secrets in the stg config of your Project.
Next, click on the
Add Integration button and select Heroku from the list of cloud providers.
Then, authorize Doppler to have access to your Heroku account.

Finally, complete the integration process by setting the following:
App or Pipeline.doppler-demo).stg).Click on the
Set Up Integration button after providing all the necessary information.

You have successfully integrated Doppler with Heroku. Whenever you make changes (adding/updating) to your
Project secrets, Doppler will automatically synchronize them with your Heroku app's Config Vars.
Deploy your app to Heroku as you would typically do.
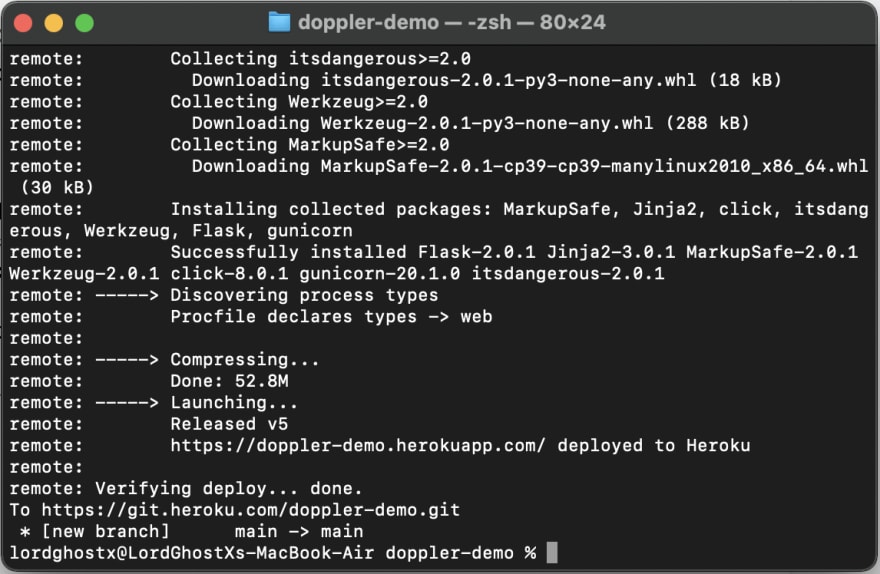
By integrating Doppler with Python (Flask) and Heroku, you built and deployed a web app with efficient and scalable secrets management using minimal effort. You saw how to store, share, and access secrets using Doppler and integrate your
Project with a cloud provider.You can also learn more about Doppler from the official documentation. If you have any questions, contact me on Twitter: @LordGhostX
36