Home
Chat
This website collects cookies to deliver better user experience
OK
5 Steps to Flash ESP8266 with Tasmota in 2021
In this very short tutorial, I will show you how I flashed an ESP8266 with Tasmota.
Step 1: Download ESP Flasher & Tasmota
ESP Flasher:
github repo
, and download the appropriate version of ESP Flasher (no need to install)
Tasmota:
tasmota.bin.gz
Step 2: Plug ESP8266 to your computer in Boot Mode
Plug the ESP8266's USB to your computer, while pressing the
Flash button
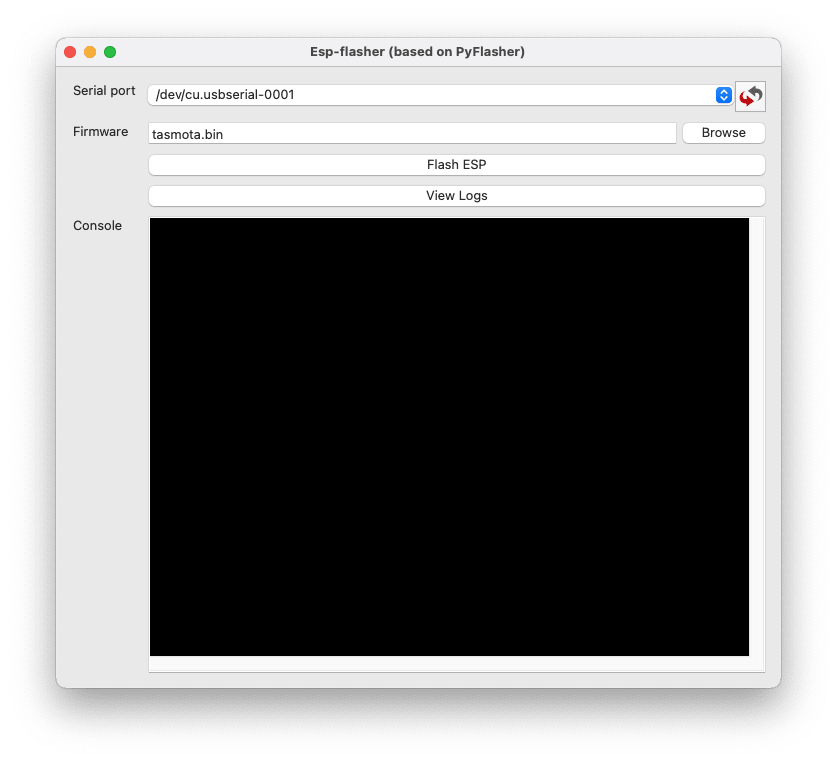
Step 3: Start and Setup ESP Flasher
Reload the Serial Port until you see your USB plug appearing
Browse the firmware Tasmota we downloaded in Step 1
Launch ESP-Flasher
This process can take up to 30sec. Once done, unplug, and replug the ESP8266 module to your computer or any other source of power.
Step 4: WiFi connection
Once relaunched, you should see a Tasmota_XXX WiFi appearing in your networks.
Connect your computer to the Tasmota WiFi
Connect your WiFi (SSID + Password)
Click Ok
Let the component restart
Step 5: Tasmota Config
Configure MQTT Broker accordingly (host + port + login + password)
22
0
Tags:
Esp8266
Tasmota
Flashing
Related Posts
loading...
loading...
loading...
loading...
loading...
loading...
loading...
loading...
Post Comment
Show Comments
A bug that made me a better developer.
How to build powerful tables in React using the React Table package
Implementing tables using reactjs
Next.js Authentication with Netlify Identity
Using VueQuill editor in Vue.Js3
Tasmota IR Bridge, integrated to Home Assistant (transmitter part)
9-Steps to Flash Sonoff WiFi Smart Switch with Tasmota (MacOS Catalina)
Hacking an IoT App at the Civo Hackathon, 2021