29
loading...
This website collects cookies to deliver better user experience
yarn create redwood-app vr-in-redwoodweb directory.World and it will point to the root of the app. To create this page, we'll run this command.yarn rw g page world /web > src > pages directory and you'll see a WorldPage folder. It has the code for the home page and it has a few other files to help with testing. If you take a look at Routes.js, you'll also notice the new routes have automatically added.index.html file with the following line at the end of the <head> element.<script src="https://aframe.io/releases/1.0.4/aframe.min.js"></script>WorldPage component. Open that file and add the follwing code.WorldPage component. We won't be using any of the template code.const WorldPage = () => {
return (
<a-scene>
<a-assets>
<img
id="room"
crossorigin="anonymous"
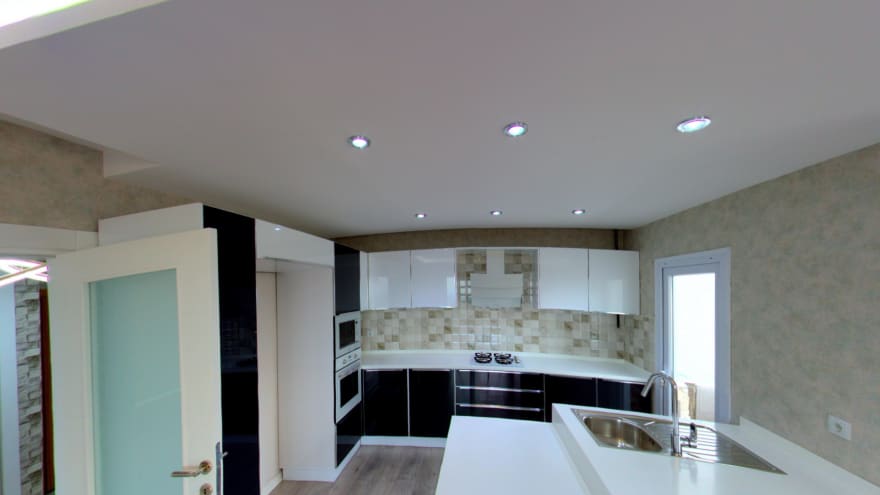
src="https://res.cloudinary.com/milecia/image/upload/room-360_nag5ns.jpg"
/>
</a-assets>
<a-sky id="image-360" radius="10" src="#room"></a-sky>
<a-camera look-controls-enabled={true}></a-camera>
</a-scene>
)
}
export default WorldPageWorldPage component should look like now. We're using a few of the Aframe components.<a-scene> creates the entire world for the VR app.<a-assets> is how we import external resources, like images and audio files, into the world.<a-sky> uses a picture to create the background for the world. This is how you can create a static environment for your world if you don't need the user to move around much.<a-camera> is how we add a camera to the world so that a user can look around the world.src for the image in the <a-assets> element.milecia in the asset URL to match the cloud name for your Cloudinary account so that you can use your images.WorldPage component file.import { useQuery } from '@redwoodjs/web'const { loading, data } = useQuery(WORLDS)const WORLDS = gql`
query Worlds {
worlds {
id
imageName
}
}
`useQuery line, add the following lines.if (loading) {
return <div>Loading...</div>
}const worldUrl = data?.worlds[data.worlds.length - 1].imageName || 'room-360_nag5ns.jpg'<img
id="room"
crossorigin="anonymous"
src={`https://res.cloudinary.com/milecia/image/upload/${worldUrl}`}
/>yarn rw dev
api > db directory and open schema.prisma. This is where we'll add the schema to save the URL that the user wants for their world. We're going to update the provider to use a Postgres database.provider = "postgresql"UserExample schema with the following.model World {
id Int @id @default(autoincrement())
imageName String
}.env file to use the database instance you want. You can set up Postgres locally. Update your DATABASE_URL with your credentials. It might look similar to this.DATABASE_URL=postgres://postgres:admin@localhost:5432/vr_worldsyarn rw prisma migrate devyarn rw g sdl worldapi > src > graphql, you'll see worlds.sdl.js with all of the types you need for GraphQL. Then if you go to api > src > services, you'll see a new worlds folder with a few files. The worlds.js file has the one resolver that we need to fetch the data on the front-end.